

Introduction
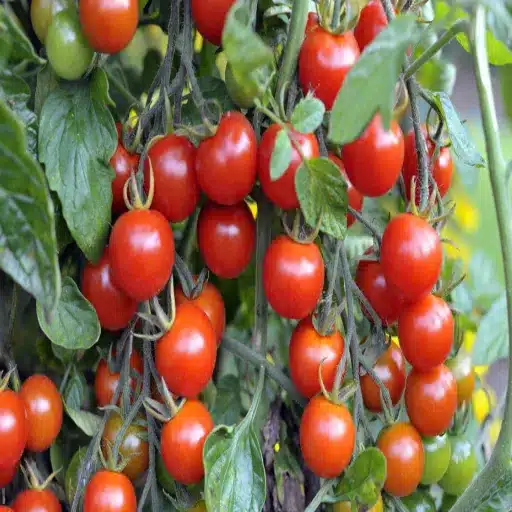
If you are into gardening and is taking care of a plant, then urea fertilizer is the strongest fertilizer option in the world. Urea fertilizer is most used by gardeners, farmers or anyone who takes caring of any plants. It is a synthetic organic compound that is the most important fertilizer in the world that produces vigorous and healthy plant growth. A urea fertilizer from World System is mostly composed of nitrogen which is most important and highly prescribed plant nutrient that is essential for photosynthesis and plant growth. Urea fertilizers are most beneficial in plant growth for providing lush greenery.
One of the major benefits of the how to make urea fertilizer at home recipe is its affordability. For avid gardeners with large gardens, or those always replenishing the fertilizer for several plants, making it on your own can give you major savings. On top of that, besides reducing your gardening expenses, homemade urea fertilizer lets you maintain control over the ingredients and purity of the finished goods. Nineteenth-century Irish soil scientist Dr Helen S Thompson said: ‘Homemade urea fertilizer will not only save money but also make you sure that you are not introducing any unintended chemicals into your garden that can sometimes happen when using ready-made commercial product.
In this manner, not only economical but also enjoyable, since it adds a personal touch to your gardening ritual.
Necessary Ingredients and Tools
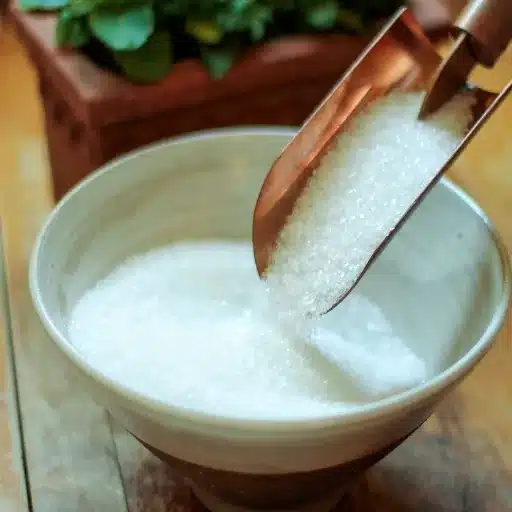
You will need several key ingredients and all of them are readily available and relatively cheap, beginning with a solid pig detour. The first and most important ingredient in urea fertilizer is urea itself, available in granules from most agricultural supply stores and online gardening shops. While urea will do as a nitrogen source, a fertilizer that includes phosphorus and potassium will be more potent and is easily made from better-known sources of those elements, superphosphate and potash, respectively.
Here’s a detailed list of ingredients required to make urea fertilizer:
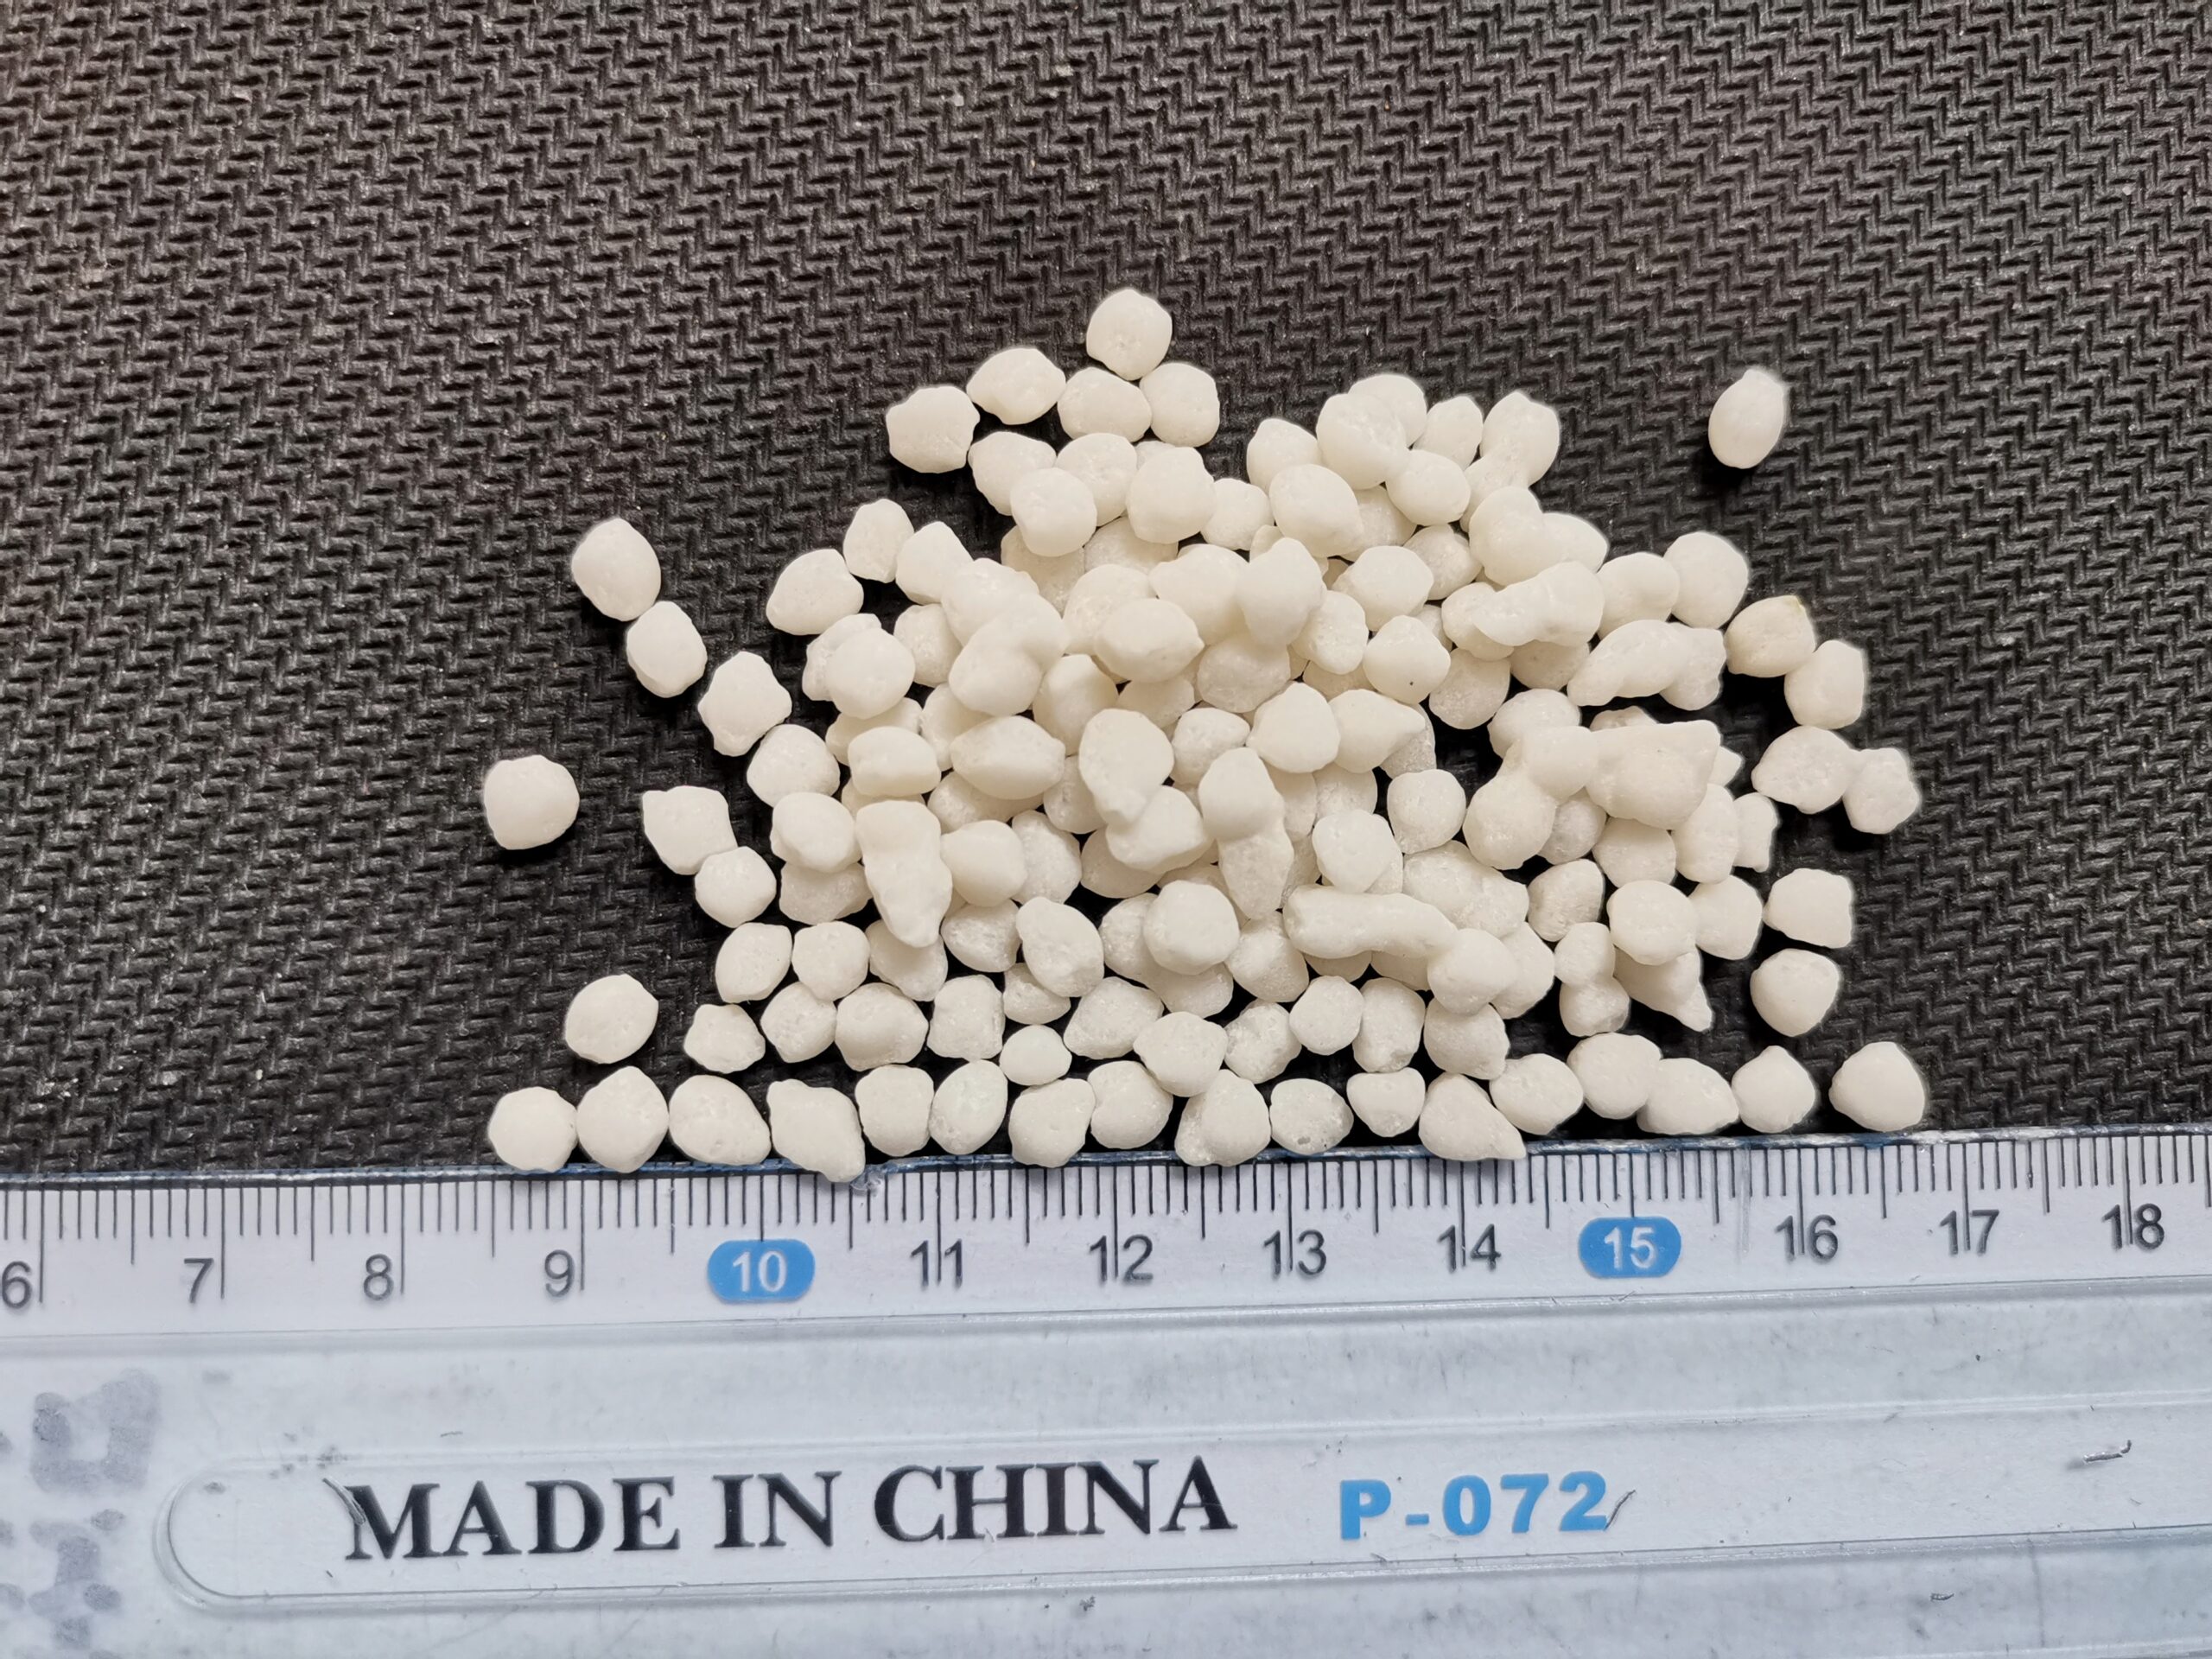
- Urea granules
- Superphosphate
- Potash
Offered in addition to those materials are tools and safety equipment required to maintain the practice both safe and effective:
- A large mixing container
- Protective gloves and goggles
- A measuring scoop or scale
- A mixing spoon or stick
- pH testing kit (optional, for testing soil compatibility)
Lucas M Grant, who spent 40 years in agriculture in the US and Canada before becoming an expert in agricultural formulations, explains the care entailed in the process: As long as you measure accurately, and blend very carefully, an urea fertilizer made preparatorily (on the farm/home) will likely not be quite as optimal for plant health or yield as the more technologically advanced, pre-mixed, well-packaged product on your local garden centre’s shelf.
Assembling those ingredients and tools in advance helps ensure that you can work quickly and efficiently to produce a fine fertilizer that your garden will greatly appreciate.
Preparing Your Ingredients
Urea preparation at home needs to be measured and prepared accurately in order to give your garden its best results. Below is the step-by-step procedure for preparing ingredients for urea fertilizer.
1. Precautions:Food grade is key due to slight modification in synthesized urea.
2. Quantity of urea: 1 kg per 100 litres of water.
3. Preparation:
Measure out your ingredients: Use a scale or measuring scoop to measure the urea, superphosphate and potash. A good ratio for a balanced fertilizer is 1 part urea to 1 part superphosphate to 1 part potash. Again, these proportions may need to be tweaked based on the needs of the soil and the needs of the specific plants you’re feeding.
Mixing Superphosphate: Take your measured urea and superphosphate then add the measured potash. Stir vigorously using a stick or mixing spoon to make sure all of the components are well mixed and uniform without any clumps.
Safety Tips:
Wear protective gear in the form of gloves and goggles that shield your skin and eyes from chemical irritants.
Avoid inhalation by working well-ventilated area: The dust or fumes of the urea and other chemicals must be kept away from breathing.
Prepping is a must when dealing with chemicals as that ensures that all active ingredients are equally distributed throughout, fostering more uniform nutrient release when the fertilizer is applied to the soil. Dr Angela Hartfield, an organic gardening PhD from the University of Florida, is an example.
Armed with these steps and enough precautions however, and you will be trekking into the woods with a high quality hail to make your crops green and healthy.
The Process of Making Urea Fertilizer
Your urea fertilizer recipe is ready. Now it’s time to start the urea processing. Read on for the step-by-step guide to processing your urea fertilizer.
- Mixing the fertilizer(Final Mixing): When the urea, superphosphate and potash mixes are ready, collect them. Mix them again until the solution is uniform. I say again and again because it is necessary that the fertilizer mix should be uniform for it to be effective.
- Moisture Adjustment: If needed, slightly moisten the mixture to help with granule binding. Add only as much water as is needed to help the mixture stick together. Too much water is going to dissolve the ingredients; just dampen it enough to help the granule binding.
- Granulation: Spread the material out on a flat area, press it out with a rolling pin or similar implement to get a thin layer and break it apart into granules, or use a fertilizerproduction-specific mechanical granulator.
- Step Three: Curing the fertilizer: Allow the granules to dry in the open without all the bells and whistles in an area with a good throughdraft and away from direct sunlight; this stage will temper the granules into solid shapes to help lock the nutrients in place.
- Quality Control: After drying, add a little fertilizerto a patch of the garden to check that it distributes well and that it is fit for use. Adjust the water percentage or the granule size based on this feedback.
The temperature and the duration of the curing process were both key: ‘Temperature, and in particular time, are crucial in controlling the progress of the curing process and ensuring that the granules have had the required time to set,’ says Dr Simon Fredericks, an agricultural scientist. This could have a big impact on the efficacy of the finished product.
By carefully following these steps, you end up with a home-made urea fertilizer, crafted to the exact needs of your crops, so that they get the right nutrient in the right form.

Storing and Using Your Urea Fertilizer
Once the urea fertilizer has been prepared, it needs to be safely stored and correctly applied to get the best out of it. Let’s consider how we can store and apply homemade urea fertilizer for obtaining good results:
Storing Your Urea Fertilizer:
Airtight containers—Ensure that the urea fertilizer is stored in airtight containers, preventing moisture absorption by chemical reaction and degradation. Excess moisture can make the fertilizer harder to break down and lose its effectiveness.
Cool, Dry Place: Store bottles in a cool dry place, away from the heat of direct sunlight and temperature extremes that alter chemical composition.
The contents and date of production should be clearly labelled on the containers to help keep your inventory list updated, and to use up older batches first.
Using Your Urea Fertilizer:
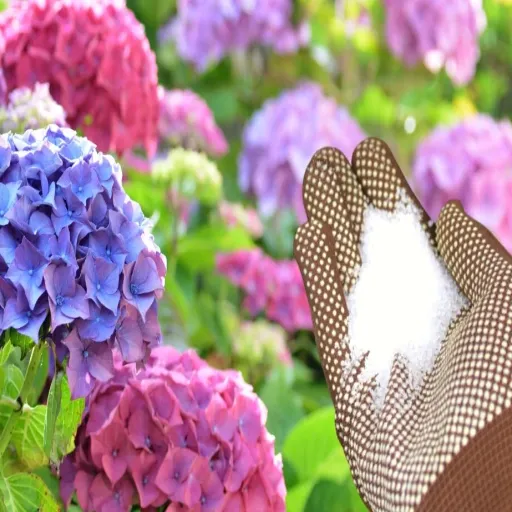
Application: It’s best to apply a urea fertilizer during growing season, when it doesn’t get too hot, and when most plants can efficiently use it. Apply it just before rain or water the plants after application so that it’s quickly absorbed by the soil.
Even application: Spread the material uniformly over the soils surface. Do not place fertilizers in direct contact with the stems and leaves of plants, as there is still a lot of free amonia, which will give them scorch.
Best Practices for Maximizing Plant Health and Yield:
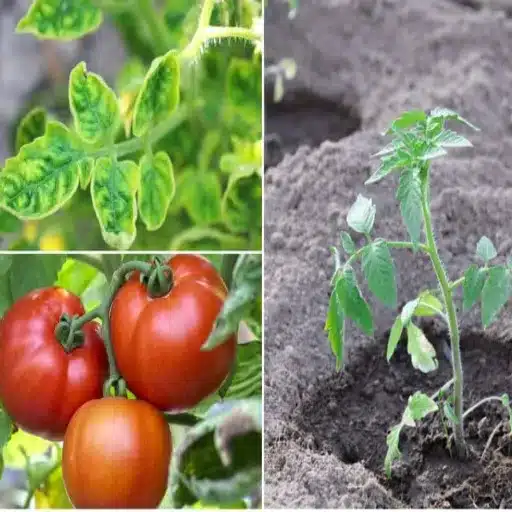
Regular monitoring: Once applied, check back weekly to track the plant’s response to the fertilizer. Try to monitor growth and look for any indication of nitrogen overfeeding, such as yellowing (chlorosis) or wilting of leaves.
Complementary watering: Sprinkling water over urea will help fix the nitrogen in soils and reduce volatility (the conversion of nitrogen to gases, which can happen under dry conditions).
‘Testing your soil on a regular basis and applying the rates as defined in these tests can significantly improve the efficiency of homemade fertilizer products,’ says Emily Watson, PhD, plant nutrition specialist with University of Nevada Cooperative Extension, Reno.
If you’ve followed this storage and application advice, then your homemade urea will help the growth, health and yield of your garden plants – helping your DIY endeavours have a bumper crop.
Conclusion
In conclusion, it is undoubtedly beneficial for someone to make their own urea as this is a rather economical way of gardening that allows for improved plant growth, in addition to making it a more environmentally sustainable way to garden.
economic benefits: Probably the biggest reason our team at Spuds Inspired likes to make urea fertilizer is because you can save hundreds of dollars. If you are diluting purchases in a tank then . . . once you have that seller, you can contact them, talk to them about your garden and what you need, and let them charge you for it. You skip the commercial markups and can brew just one pound of urea when you need it — not a hundred because you want to make fish food.
Control over ingredients: When you do-it-yourself (DIY), that is, make your own, then you’re in control of the purity and quality of the ingredients. That’s hugely important if you want to keep an organic garden, for example – and makes it certain that no nasty chemicals or additives are contaminating your soil and plants.
Environmental benefits: Opting to make your own fertilizer is a green decision. By foregoing industrially produced fertilizer, which has a high energy use and carbon footprint in production and transportation, you reduce the need for these unsustainable practices.
Why? Because making your own is a return to old ways: as the environmental scientist Susan Monroe writes: By making your own urea fertilizer, you’re not just fertilising your garden, you’re creating a way to live more lightly upon this earth. It’s a great thing for organic gardeners to do. It’s a way we can make an Earth-sparing choice.
Making urea fertilizer at home is not difficult or expensive, at least not beyond the initial capital cost, or very satisfying. If made and applied correctly, it will stimulate your plants to grow lush, green, vigorous and plentiful shoots, garage-based chemistry turning your borders into an eco-friendly hymn to your green fingers.
We encourage all gardeners to adopt this do-it-yourself way. Apart from easing your momentary gardening concerns, it will help in the making of a greener earth and a brighter future. Learn to make your urea fertilizer. Make your garden. Make our earth.
Here’s a sample list of references:
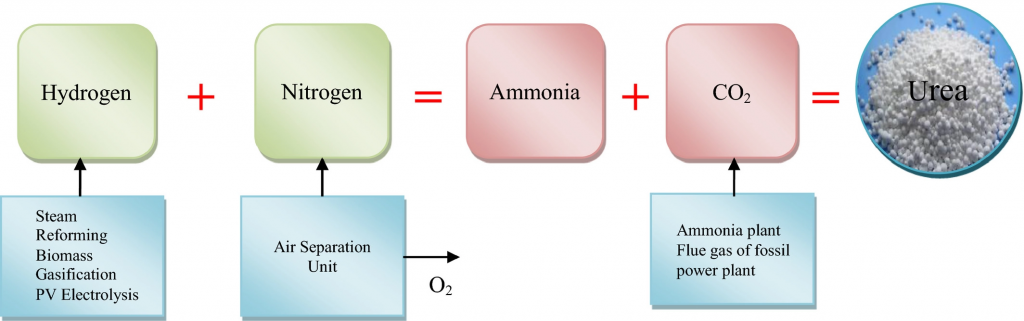
- Fertilizer Institute – “Urea Production and Manufacturing Process”
- Provides an overview of the industrial production of urea, which can be helpful to understand the chemical processes involved in creating urea at a DIY level.
- ScienceDirect – “Urea Fertilizer: Agronomic Benefits and Risks”
- Offers a detailed analysis of how urea impacts plant growth and the precautions needed when using it as a fertilizer.
- ResearchGate – “The Environmental Impact of Urea Usage in Agriculture”
- This paper discusses the environmental considerations and impacts of using urea, which is crucial for making informed decisions about fertilizer use.