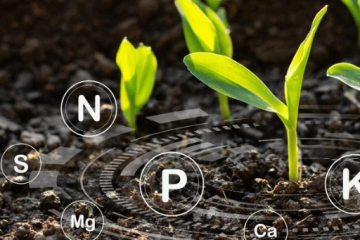
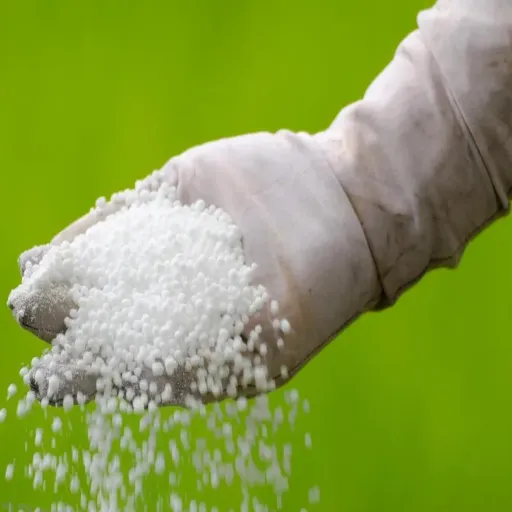
Agriculture widely uses urea fertilizer as a source of nitrogen for plants, being cheap and rich in nutrients. Factors such as the method of application particularly affect the efficiency of urea when it is mixed with water for foliar spraying or soil application. This comprehensive guide presents scientifically justified water-urea mixing guidelines for fertilizers so that nutrients are absorbed by plants with minimal waste.
Understanding Urea Fertilizer
What is Urea and Its Benefits
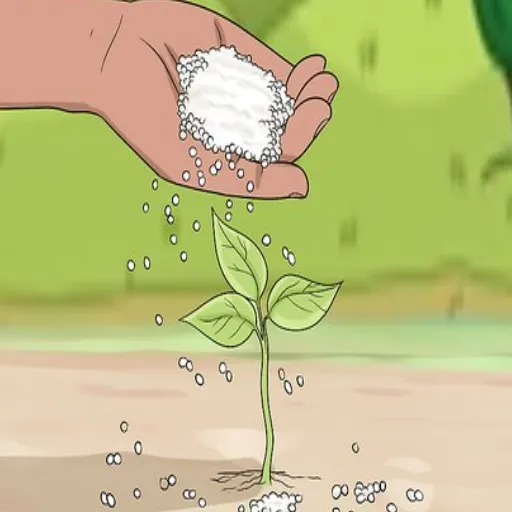
Urea, commonly called carbamide, is an essential chemical in agriculture and an agricultural fertilizer. With some 46% nitrogen by weight, it is the most concentrated nitrogenous fertilizer available. Such a high nitrogen concentration guarantees that crops receive their important nutrient needed for strong growing and development stages, especially in vegetative stages.
Key Benefits of Urea:
- Cost-effective: Requires fewer amounts to achieve the same fertilization result
- High solubility: Easily dissolved in water for irrigation or foliar spray applications
- Universal compatibility: Works with almost all crop types
- Environmental benefits: It emits fewer greenhouse gases during manufacturing compared to alternatives like ammonium nitrate
How Urea Functions as a Nitrogen Fertilizer
Urea fertilizes by serving as a concentrated nitrogen source for plants. Once in the soil, it undergoes natural transformations:
- Hydrolysis: The enzyme urease hydrolyzes urea to form ammonium carbonate
- Plant uptake: Ammonium is absorbed by plants for photosynthesis and protein synthesis
- Nitrification: Unused ammonium converts to nitrate through biological processes
- Potential losses: Without proper management, nitrogen may be lost through leaching or denitrification
Types of Urea Fertilizers Available
| Type | Characteristics | Best Use |
|---|---|---|
| Standard Prilled Urea | Fine spherical particles, easy to handle | General crop applications, various spreading methods |
| Granulated Urea | Larger, uniform particles, better flowability | Mechanical equipment, blending with other fertilizers |
| Coated Urea | Slow-release formulation (SCU or polymer-coated) | Long-term nutrient supply, reducing losses |
| Liquid Urea | UAN solutions combining urea and ammonium nitrate | Precision agriculture, foliar applications, and fertigation |
Mixing Urea Fertilizer with Water
Proper Ratios for Mixing Urea with Water
Recommended Ratio: Approximately 1 kilogram of urea for every 10 liters of water
Solubility Limit: Up to 108g per 100ml at 20°C (68°F)
The solubility of urea in water depends on temperature. Warmer water increases solubility and allows for higher concentrations. Farmers should consider environmental conditions and maximum solubility limits to prevent undissolved substances from clogging irrigation equipment.
Step-by-Step Instructions for Mixing Urea
- 1Measure the Required Amount: Calculate the urea quantity based on agronomic recommendations for your crop and soil type
- 2Select Appropriate Vessel: Use clean, non-reactive containers (plastic or stainless steel)
- 3Fill with Water: Fill vessel two-thirds with clean, low-salinity water
- 4Add Urea Gradually: Slowly introduce urea while stirring to prevent sedimentation
- 5Maintain Stirring: Use a mechanical stirrer or a long-handled implement for continuous agitation
- 6Complete Water Addition: Add remaining water to reach the desired volume, stir again
- 7Inspect for Residuals: Check for undissolved granules and agitate until clear
- 8Test pH: Adjust pH to neutral or slightly acidic for optimal uptake
- 9Use Immediately: Apply promptly or store in cool, dark conditions
Key Precautions When Handling Urea Fertilizer
Safety Precautions:
- Storage: Keep in dry, cool conditions to prevent moisture absorption
- Protection: Use PPE, including gloves, protective eyewear, and masks
- Chemical Safety: Avoid mixing with reactive compounds like nitrate-based fertilizers
- Timing: Apply during cooler temperatures or before expected rain
- Spill Management: Clean up immediately following safety standards
- Compliance: Follow local and national regulations for transportation, storage, and use
Application Methods for Urea Fertilizer
Applying Urea as a Foliar Spray
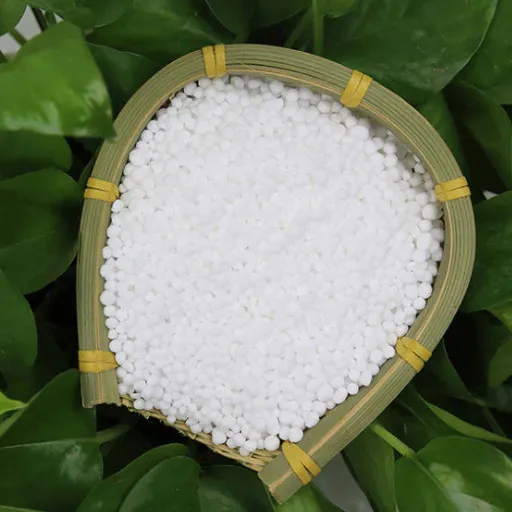
Foliar application allows rapid nitrogen uptake through stomata and epidermis. The ideal concentration ranges from 0.5-2% depending on crop type and growth stage.
Best Practices for Foliar Spraying:
- Apply during active growth phases when nutrient demand is high
- Spray early morning or late afternoon to minimize evaporation
- Avoid concentrations above 2% to prevent leaf scorch
- Ensure precise application rates to prevent crop injury
Using Urea Fertilizer for Potted Plants
For potted plants, precision is crucial due to the confined growing environment. The recommended dilution is approximately 1 teaspoon of urea per 1 gallon of water.
- Apply to the moist soil surface to reduce plant damage risk
- Monitor soil pH and salinity levels regularly
- Perform intermittent soil leaching with fresh water
- Consider soil amendments like lime to maintain stable growing conditions
Best Practices for Spraying Urea Fertilizer
| Factor | Best Practice | Why It Matters |
|---|---|---|
| Equipment | Use atomizing nozzles for fine droplets | Ensures uniform foliage coverage |
| Concentration | 0.5-2% urea solution | Prevents foliar burn and osmotic stress |
| Timing | Early morning or late afternoon | Minimizes evaporation, maximizes uptake |
| Weather | Wind less than 5 mph, mild temperatures | Prevents drift and ensures even application |
| pH | Neutral to slightly acidic | Prevents ammonia volatilization |
Benefits of Using Mixed Urea Fertilizer
Promoting Nutrient Absorption in Plants
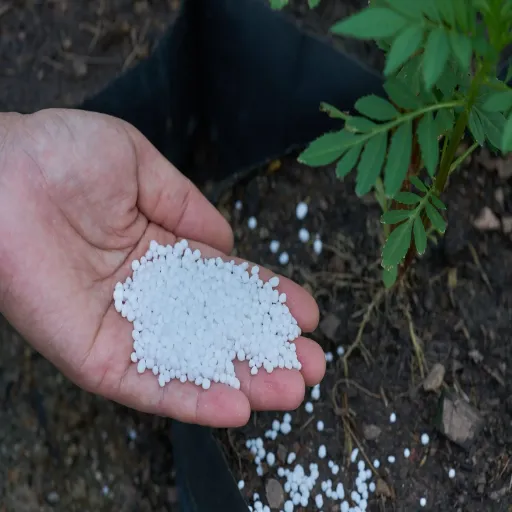
Mixed urea fertilizer improves nutrient absorption through synergistic interactions between nitrogen and other essential elements such as phosphorus and potassium. These combinations are more effective in overcoming deficiencies than isolated nutrient sources.
Enhanced Absorption Benefits:
- Uniform crop growth through balanced nutrition
- Improved enzyme activation with micronutrient additions
- Controlled nitrogen release with coated formulations
- Reduced environmental losses through volatilization and leaching
Boosting Crop Yield with Urea Fertilizer
Enhancing crop yield requires attention to timing, placement, and supporting technologies. Key strategies include:
- Timely Application: Coincide with prominent plant growth stages
- Loss Prevention: Incorporate into soil or apply before irrigation
- Efficiency Enhancers: Use urease inhibitors or slow-release coatings
- Precision Agriculture: Employ soil testing and GPS-guided applicators
Avoiding Common Mistakes with Urea Fertilizer
Over-fertilizing: A Common Pitfall
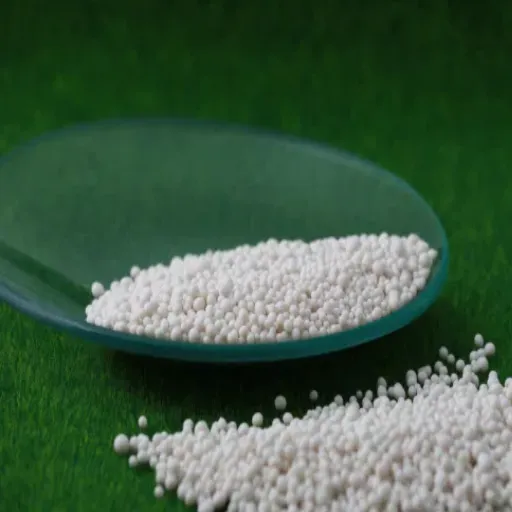
Consequences of Over-fertilization:
- Nitrogen leaching into groundwater sources
- Increased soil salinity levels
- Ammonia volatilization and air pollution
- Enhanced nitrous oxide emissions contribute to climate change
Using Incorrect Concentrations of Urea
Wrong concentrations can cause nitrogen leaching, stunted plant growth, ammonia volatilization, and reduced yields. Prevention strategies include:
- Precision agriculture and advanced soil-testing technologies
- Following agronomic standards and region-specific data
- Using urease inhibitors or proper soil incorporation methods
- Monitoring within 48 hours of application to prevent losses
Tips for Different Types of Crops
| Crop Type | Application Strategy | Special Considerations |
|---|---|---|
| Cereals | Split applications at tillering and flowering | Use chlorophyll meters for nitrogen status monitoring |
| Legumes | Inoculate seeds with proper rhizobia strains | Prioritize phosphorus and potassium over nitrogen |
| Vegetables | Apply through drip irrigation systems | Balance nitrogen with calcium and magnesium |
| Tubers | Split application: half at planting, half during bulking | Prevent excessive foliage growth at the expense of tubers |
| Fruit Trees | Apply during flowering and early fruit set | Use foliar sprays for quick deficiency correction |
Frequently Asked Questions (FAQ)
References
- University of Minnesota Extension – Fertilizer Urea: Application and Interaction between Urea and Water and Soil
- Utah State University Extension – Urea: A Low-Cost Nitrogen Fertilizer
- Kansas State University – Understanding the Chemical Reactions of Urea in the Soil
- Utah State University Extension – Urea and Irrigation
- University of Arizona – Liquid Lawn Fertilizers


