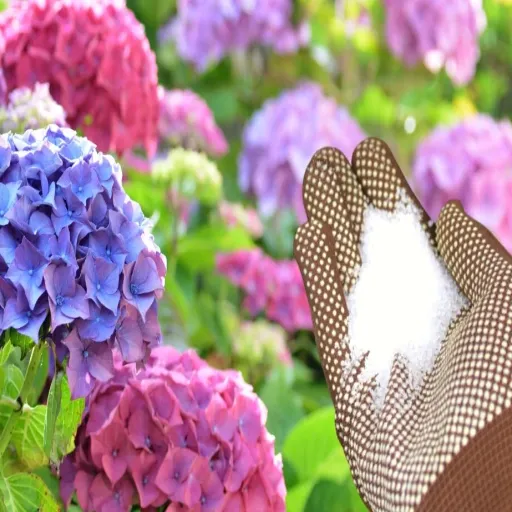
Gardening is not only a therapeutic and rewarding endeavor but also a practice that significantly contributes to environmental sustainability. One of the key elements in maintaining a lush and vibrant garden is ensuring the plants receive the appropriate nutrients. While granular fertilizers are a popular choice due to their ability to release nutrients slowly over time, there are situations where liquid fertilizer may be more beneficial. This article will guide you through the process of transforming granular fertilizer into an effective liquid form, allowing for more precise application and faster nutrient absorption by plants. Whether you are new to gardening or an experienced horticulturist, this practical guide will empower you to optimize your garden’s nourishment regimen, promoting healthier growth and more bountiful blooms.
What is Liquid Fertilizer and Why Use It?
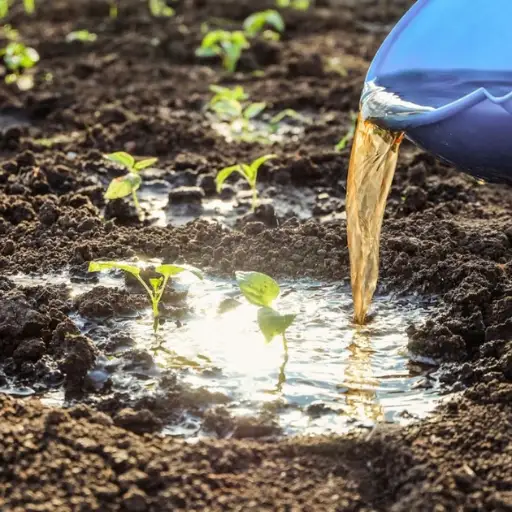
Benefits of liquid fertilizer
For any gardener looking to expedite the growth of plants, liquid fertilizer presents a myriad of benefits. First of all, results are immediate since the nutrients are right there ready for absorption through the roots, compared to the granular options where there is no such rapid effect. Secondly, with the liquid, it is also possible to administer the required amounts only for the plants, minimizing chances of over-fertilization. Besides, it is more convenient as it can be used with irrigation systems, which means watering and feeding can be done simultaneously thereby reducing time and effort. This method can also be used where there is a need to cover a vast area with uniform application and can be practiced at different stages of growth making it more appealing to a lot of people who are into gardening.
Differences Between Granular and Liquid Fertilizer
The liquid fertilizer, on the other hand, also has its features that are unique to this form of fertilizer, as does the granular, thereby serving a different purpose in the gardening. Granular fertilizers are solid and release some nutrients slowly within targeted intervals, so they will be used less during the growing seasons. They are often more economical, and the possibility of losing nutrients due to leaching is relatively nil owing to the time-release nature of these products being built instead than considered. Well, perhaps the only downside of this is that they may not come immediately after the application, such as in the case when the particular nutrient is needed at critical periods of growth for some plants.
Alternatively, liquid fertilizers supply plant nutrients in readily-available dissolved solutions and are dissolved quickly by the root systems of plants. This is useful when a rapid improvement is desired in the case of a deficiency, or a growth spurt is needed. There is no doubt that these correlation relations are incomplete. Liquid fertilizers appear to be more expensive, but since they can be used with watering systems, this disadvantage is often balanced by use and even distribution throughout the garden. Eventually, it will all come down to growing goals, the plants’ properties, and the frequency of feedings when deciding which of the solid and liquid fertilizers to use.
How Liquid Fertilizer Delivers nutrients
Liquid fertilizers deliver nutrients in the form of water and are therefore readily assimilated into the root system of plants. In this way, these practices are effective because critical nutrients are present in the appropriate forms that the plants can easily take in. If the nutrients are applied in the root by soil or foliar method, the chances of rapid growth will be guaranteed as the nutrients will be available in the plant system quickly solving nutrient shortages. The nutrients that one liquid fertilizer contains can be replenished immediately whenever needed, making it much more appropriate in periods that require a lot of nutrients or periods of plant stress. They also encourage its efficacy since these systems compromise the uniformity of feeding, ensuring that all parts of a garden are well-fed.
How to Make Liquid Fertilizer from Granular Fertilizer?
How to Turn Granular Fertilizer into Liquid- Step by Step Approach
- Gather Ingredients and Tools: To begin, you will need your chosen granular fertilizer, a clean bucket, a stirring rod or spoon, and water. Ensure you also have a scale or measuring cup to accurately weigh or measure the fertilizer.
- Measure the needed Fertilizer: The amount of fertilizer required will depend on the garden size and the Recommended rates of application (dilution ratio) given by the manufacturer. This information is mostly found on the fertilizer’s package.
- Dissolve the Fertilizer: Pour the measured granular fertilizer into the bucket. Now add warm water according to the fertilizer’s ratio instructions that you have prepared. Use the stirring rod to stir the fertilizer and ensure that all the granules dissolve to form a nutrient solution.
- Strain the Solution: If needed, strain the liquid employing a fine mesh strainer or cloth that will trap any undissolved solids leaving a clear liquid ready for spraying systems.
- Apply the Liquid Fertilizer: Get the liquid fertilizer into a can or sprayer for applying the liquid manure. Apply the fertilizer evenly on the crops or garden. Apply early morning or late sunshine when there is maximum absorption and minimum evaporation.
It should be noted that although fertilizers may vary in concentration, dissolution, and application ratios, the product label instructions should be adhered as much as possible.
Standard Mixing Ratios Between Water and Granular Fertilizers
Most gardeners fail to appreciate the importance of getting the right ratio for mixing water and granular fertilizer for effective application. Usually, a standard recommendation is to dissolve one to two cups of granular fertilizer in a gallon of water, but this can be different depending of the specific brand & type of fertilizer, or the individual requirements of your plants. However it is best to check product container for these recommendations. It is also suggested that you perform a small test application to determine how effective the treatment will be so that adjustments can be made prior to treating the entire garden.
Liquid Fertilizer Mistakes that Should be Avoided
While making any type of liquid fertilizer, it is crucial to avert several common errors in order for the fertilizer to be effective and not damage the plants. To begin, remember that you should not concentrate the solution too much; too much fertilizer can give root nutrient burn. User should properly abide by the instruction and the ratios suggested in the prep. The next tip is not to putthe solution on the plant’s upper leaves at the hottest hours. The reason here is that there will be too rapid evaporation or absorption which is not to the plants’ advantage and may result to burning of the leaves. Last but not least, any type of fertilizer solution needs proper storage, as otherwise its functionality will decrease;. Therefore, this product has to be kept in a well-closed container, labelled and in a cool place away from sunlight as well as other potentially damaging elements.
What Ingredients Can I Use to Make Liquid Fertilizer?

Employing Comfrey and Other Non-Conventional Methods
In this portion, you will also learn ways of incorporating comfrey and other organic options to make liquid fertilizers. You can accomplish this by soaking comfrey leaves in water which is certainly going to be nutrient rich in nutrients. Comfrey contains a lot of nitrogen, potassium, and phosphorus nutrients which all help in the growth of plants.50 Lastly, place the mixture in a bucket full of water with crushed comfrey leaves immersed in the water for a few weeks. And strain it after for the liquid to be applied on the plants. In addition to comfrey, other organic materials such as banana peels, worm casts, or sea algae can, however, be incorporated in this work too. In order to steep, strain and mix these materials with water, they can supply much needed nutrients to plants, although probably not at their most effective states yet. Remember to only apply these homemade fertilizers at the right times for feasibility reasons.
Adding Manure to Your Liquid Fertilizer
In terms of the procedure for adding manure to the liquid fertilizer, the initial step is to choose the kind of manure that serves the needs of the plants, for example cow, horse, or chicken. Each type has different nutrients content with chicken manure being the highest in nitrogen content. First and foremost, soak the fresh manure in order to start the process and ensure decline in age diseases as well as the probability of burning crops. For the next step, dilute the aged manure in water in a large casserole or tub at an approximate ratio of 1 part manure to 5 parts water, and steep it for one week. Mix the container daily for distribution of nutrients. After that, wash or filter out the semi-solid worm bedding that remains after the steeping process. Squeeze the liquid into a can, some of the worm castings should follow the syrup and that’s okay as they can be return to the plants later. Depending on the source of the liquid fertilizer/dressing it can be diluted with neutral water and placed in the source soil around the plants. Care should be taken so that the solution does not come in contact with plants leaves when in application or it should be avoided during hot weather as it may be detrimental. This manure leaf solute should be applied at least once every 2 weeks at moderate rates for maximum improvement of soil nutrition and growth of crops.
Liquid Kelp as a Potential Supplement
Liquid kelp is the seaweed extract with great nutrient potential that is popular due to its uses for plant health. It contains micronutrients, growth regulators, and enzymes that are critical in the growth of plants. In addition, the application of liquid kelp as a foliar or root liquid insurgence enables plants to build up drought tolerance, tree disease, and enhances formation of good roots. In addition to that, it enhances the growth of plants by inducing chlorophyll which improves the efficiency of photosynthesis. Due to its organic nature, it is therefore safe for use in organic gardening thereby increasing the health of plants without the use of chemicals.
How to Apply Liquid Fertilizer in the Garden?
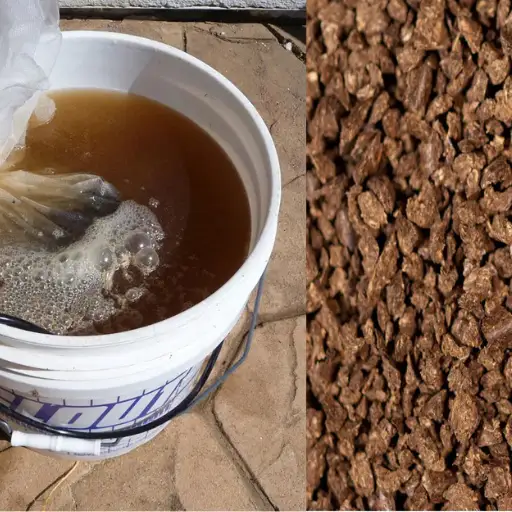
Most Effective Techniques for Applying Liquid Fertilizer in a Greenhouse
While working in the garden, and more specifically while spraying liquid fertilizer in it, certain guidelines should be followed in order to minimize nutrient wastage and maximize uptake by the plants. To begin, avoid spraying within the dag for periods of time when the temperature is high, such as around noon because high temperatures can scald leaves and result in evaporative loss of the product. Attach a sprayer that produces a cone fraction to facilitate even spraying and eliminate irrigation storm runoff which reduces the efficiency of the fertilizer and pollutes the environment. Standardize the pattern of spraying such that the soil around the base of each plant and the leaves of the plant are sprayed. Fix the amount of liquid fertilizer according to the plants’ workings, and it is recommendable to always observe the dilution ratios that the manufacturers have provided to avoid flooding the plants with nutrients. This will help you create a personalized spraying schedule in order to maximize plant growth rates and health with time.
Timing and Frequency of Application
The timing and frequency of applying liquid fertilizers is significantly informed by its benefits and its intended target – the plants. Liquid fertilizers are best applied during the vegetative growth stage of plants because that’s when plants use up most nutrients, and that’s during the spring and early summer months. Take a break in applying liquid fertilizer for two to four weeks so that the nutrients are not overwhelmed with more fertilizer. Be careful when interpreting the nutrition requirements of different types of plants, as it is a possibility that some may be short and others over longer durations. Always ensure you water the plants before administering liquid fertilizer so as to guard the roots against burn and also help with the even absorption of nutrients. You can easily implement these recommendations and enhance the growth of healthier plants to boost the effectiveness of your garden.
How to Prepare Diluted Liquid Fertilizer for All Plants
There are many factors to remember when watering down liquid fertilizer for different plants, primarily among them the nutrient need of the plant and the manufacturer’s recommendations. To begin, one will need to examine the product label for a dilution’s ratio. Most of the time, one tablespoon of liquid fertilizer to one gallon of water would do fine for most houseplants and garden plants. But for some more sensitive or young types of plants, a low concentration at 1:2 is more preferable than the use of the full strength because they are at risk of experiencing nutrients overload. As an example, flowering shrubs and the fruiting plants which have a high demand for nutrients may require that you flip the ratio a little to the upper side but this should be done in a very cautious way to avoid burning the roots. In cases where you have somehow altered the ratios in an attempt to suit the needs of sensitive plants, always carry out a small test first and monitor the response of the plants after that if they are will and modify further. Taking note of the condition of the plants frequently after any application can help and direct one on how to change the ratio of dilution if the plants were not doing well.
Can I Store Liquid Fertilizer?
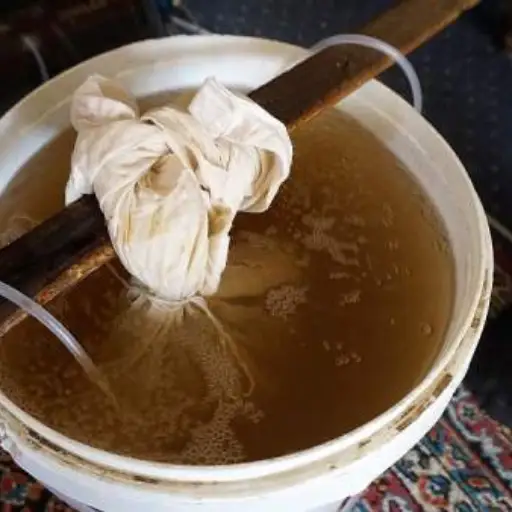
How Long Can You Expect Liquid Fertilizer To Last?
I have learned that the longevity of liquid fertilizer depends on factors such as formulation and storage conditions. If stored properly in a cool, dry area away from sunlight, liquid fertilizers range from about 8 years to about 10 years of shelf life. It is important to be careful and prevent contamiastion and evaporation by ensuring the container’s cap is securely fastened. While the nutrients need not expire quickly, their suitability may be at risk if the fertilizer is subject to very high temperatures or moisture for a long time. The appearance of other changes that are, discoloration, change in odor or viscosity confirms the fertilizer has out lived its welcome user.
Signs Your Liquid Fertilizer Has Spoiled
Liquid fertilizers do, in the long run, have certain very few identifiable signs that they may have spoiled. First and foremost, unusual or bad odor is often a sign that some spoilage may have taken place. In addition, one will also notice a difference in the color or even consistency say for example, compacting after mixing or separation where the nutrients are not well distributed. In case, you see any cloudiness in the base liquid or sediment that was not there before it could be a sign of spoilage or contamination too. Lastly, another sign is when the fertilizer applied yields no expected results within the plants or in fact the plants even seem distressed when the fertilizer is used as it supposed to. It is important to remember such observations before they are applied to plants.
Reference sources
- North Coast Gardening: This article explains a simple method of soaking granular organic fertilizer in water to create liquid fertilizer.
- Greenway Biotech: This blog post discusses the process of dissolving granular fertilizer in water and provides tips for successful conversion.
- Our Nook of the Woods: This guide offers insights into creating nutrient-dense liquid fertilizer, often referred to as compost tea, using simple materials.
These sources should help validate the feasibility of converting granular fertilizer into liquid form for your readers.
Frequently Asked Questions (FAQs)
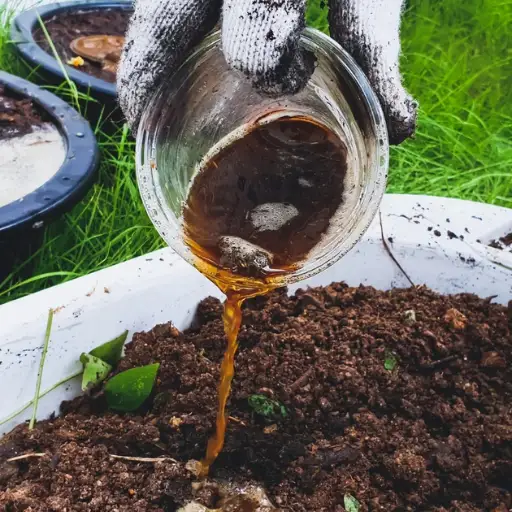
Q: How can I make a liquid fertilizer from granular fertilizer?
A: To make a liquid fertilizer from granular fertilizer, you need to dissolve the granular fertilizer in water. A common ratio is to mix 1 cup of granular fertilizer into 4 gallons of water. Stir well and let it sit for 24 hours before using.
Q: What is the benefit of using liquid fertilizer instead of granular fertilizer?
A: Liquid fertilizers are often more readily absorbed by plants, allowing for quicker nutrient uptake. This can provide a rapid boost to plants, especially when they are stressed or in need of immediate nutrients.
Q: Can I use water soluble fertilizer for making liquid fertilizer?
A: Yes, water soluble fertilizers are ideal for making liquid fertilizer since they dissolve easily in water and provide a concentrated nutrient solution for your plants.
Q: What types of plants can benefit from homemade liquid fertilizer?
A: Homemade liquid fertilizer can benefit a wide range of plants, including vegetables, flowers, and lawns. It is particularly useful for plants that require frequent feeding or are grown in containers.
Q: How long can I store homemade liquid fertilizer?
A: Homemade liquid fertilizer can typically be stored for a few weeks. It’s best to keep it in a cool, dark place and ensure it is well sealed to prevent contamination.
Q: How do I apply the liquid fertilizer to my plants?
A: You can apply the liquid fertilizer by pouring it directly onto the soil around the plants or using a watering can. Ensure to gently water your plants after application to help the nutrients penetrate the soil.

